How to Remotely Upload Files in TeraBox Using Telegram
One of the most convenient features of TeraBox in its early days of launch was its remote upload function. This allowed users to directly upload files from another cloud storage or any downloadable link to their TeraBox account without needing to download and then re-upload the file.
Unfortunately, TeraBox has discontinued this feature, and they have announced this change on their official blog.
However, there’s good news for those who miss this feature!
It’s still possible to use this functionality through a Telegram bot called ‘Remote Upload Bot‘. The bot offers the same remote uploading capabilities as found previously in the official TeraBox app.
This means you can directly upload any file from a publicly available download link, whether it’s hosted on other cloud storage services like Dropbox, OneDrive, Google Drive, etc., or available publicly on any website.
Ok, now let’s get straight to the method on how you can use it.
But before proceeding, please note that the bot is not from Official TeraBox Developers and is a third party Bot. We have tested the bot and found properly functioning, however, you must proceed with caution before using third party Telegram Bots.
Step-by-Step Guide to Use TeraBox Remote Upload Bot in Telegram
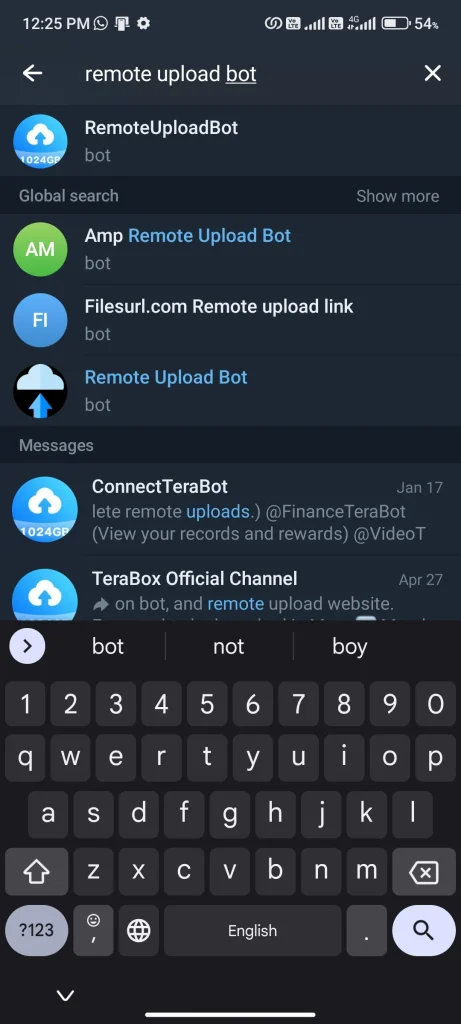
Step 1: Search Remote Upload Bot in Telegram
- Open Telegram and search for ‘Remote Upload Bot.’
- You should see the bot with the TeraBox icon as its display picture.
- Click on the bot to continue.
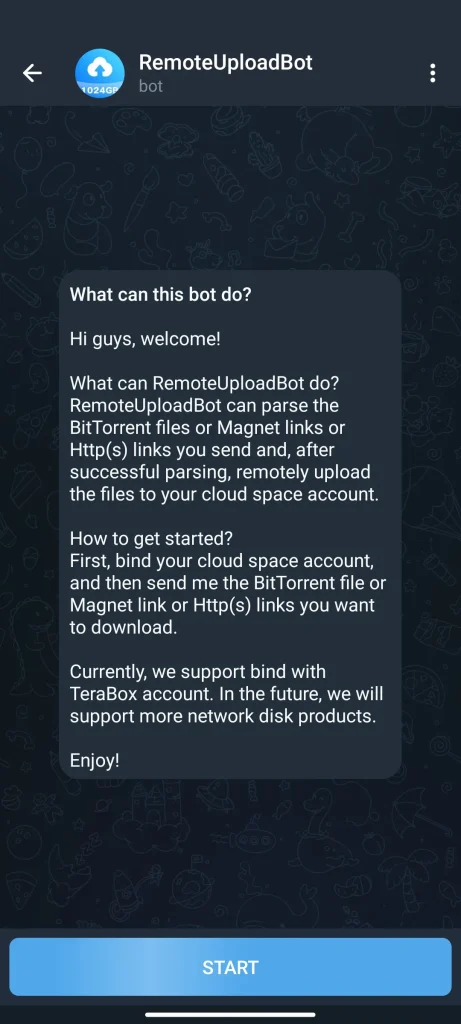
Step 2: Tap Start to Start Conversation
Once you enter the bot chat, click the ‘Start’ button to begin the conversation.
Step 3: Link Your TeraBox Account
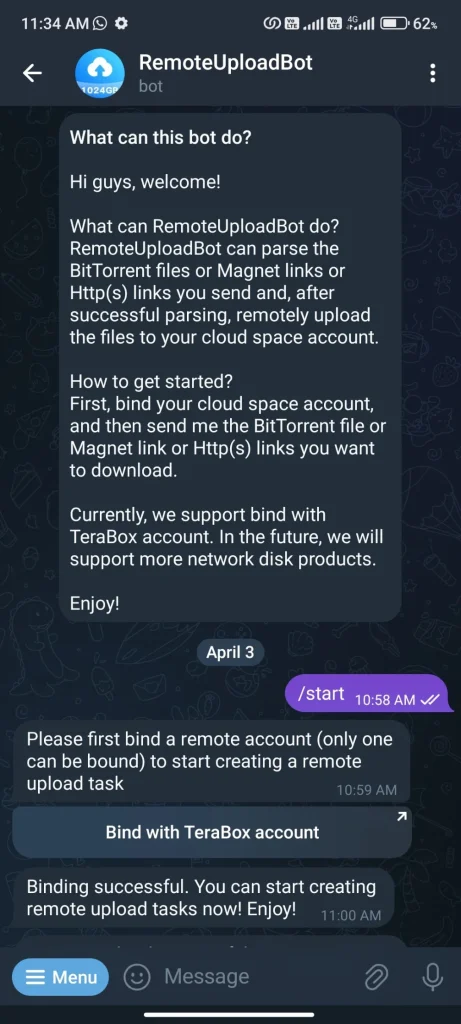
- Once you hit ‘Start’, the bot will prompt you to bind your TeraBox account to initiate the remote uploading process.
- Click ‘Bind with TeraBox account’ and log in with your TeraBox credentials.
- Once logged in, you’ll see a message confirming your account is successfully bound.
Step 4: Enter File Link to Upload to TeraBox
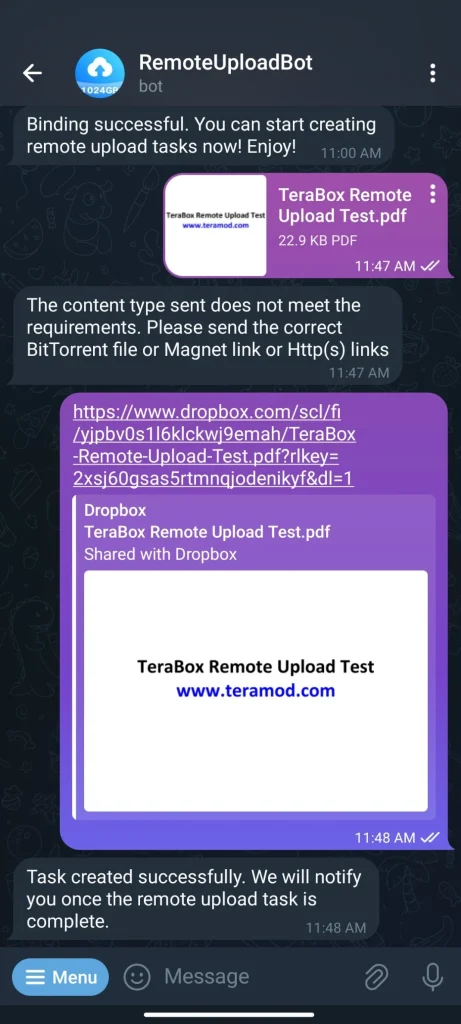
- Now that your account is linked, you can paste the desired downloadable file link into the conversation box to start the remote upload.
- Once the file is recognized, you’ll see a message confirming that the remote upload task has been created successfully.
Please note that directly attaching files is not supported and will result in an error, as shown in the first part of the screenshot.
Step 5: Wait for the Confirmation Message
- Once the remote upload task is created, it may take a few minutes for the bot to fetch the file and upload it to TeraBox.
- Please wait for the confirmation message before sending another link.
- Upon completion, you’ll see a message indicating that the remote upload was successful.
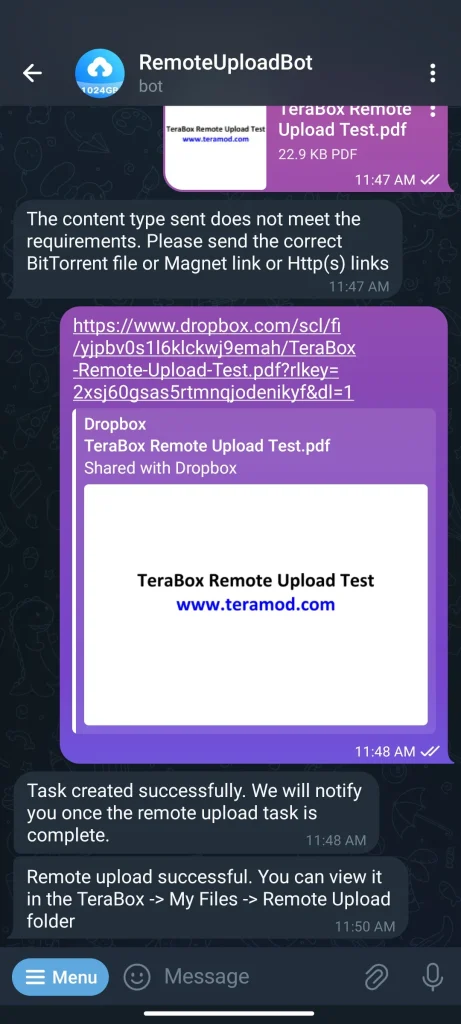
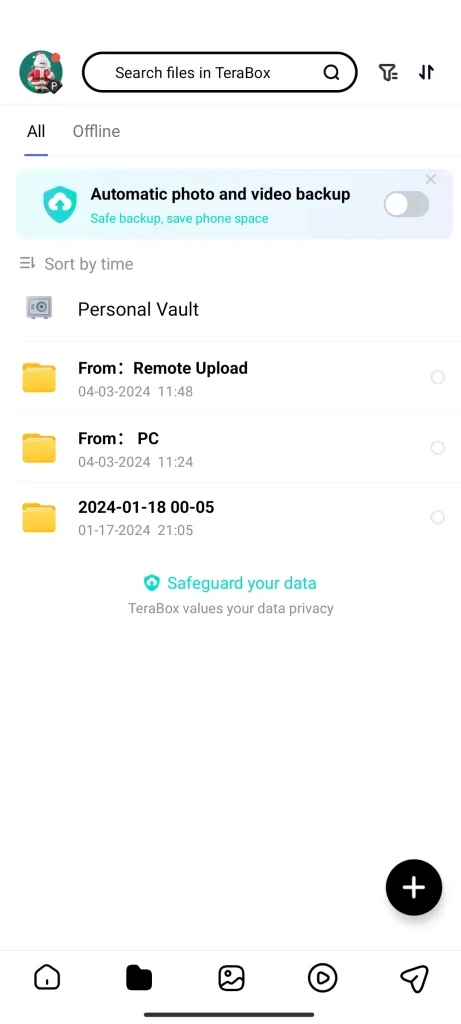
The time it takes for a file to upload to TeraBox through Remote Upload Bot depends on its size. Once the file is successfully uploaded, you’ll find it in the ‘Remote Upload’ folder that’s automatically created within your TeraBox storage.
Remote Upload Folder in TeraBox
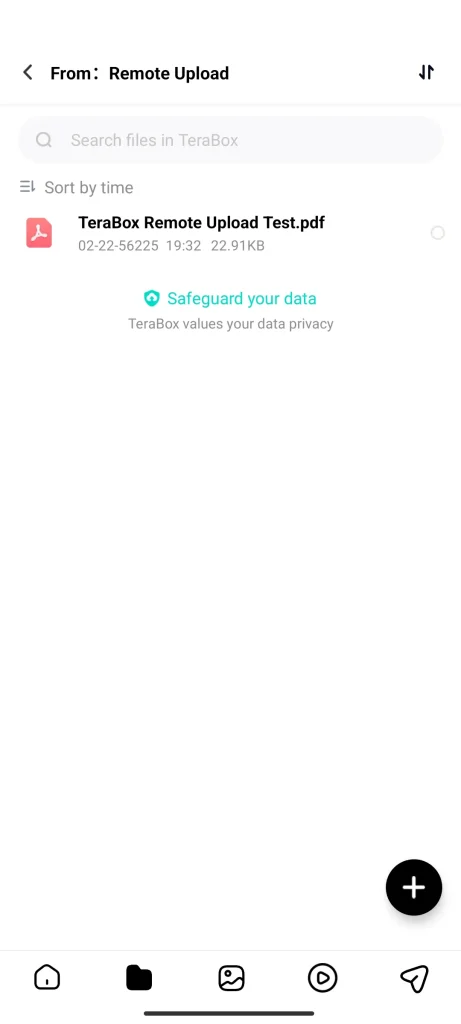
Remotely Uploaded File
We hope this guide was helpful in showing you how to remotely upload files from other cloud storages or any publicly available download links to TeraBox.
However, keep in mind that the TeraBox free plan has limitations, such as a 20-file upload maximum. You can unlock these limitations by subscribing to their premium plan.
If you want to explore ways to remove these limitations for free, you can check out the TeraBox Mod APK.